
How to Recover Files from External Hard Drive Not Detected by Windows
How to Recover Files from External Hard Drive Not Detected by Windows
Data loss can be completely devastating. The sudden realisation that years’ worth of photos have vanish, or that you have lost months of work is a heart-stopping moment. But even in the moment of panic that immediately follows the discovery, try to remain calm as all is probably not lost. There are various methods you can use to get your data back, and it is even possible to recover files from external drives which are not detected by Windows.
Recover Data from an External Drive that Doesn’t Appear in Windows
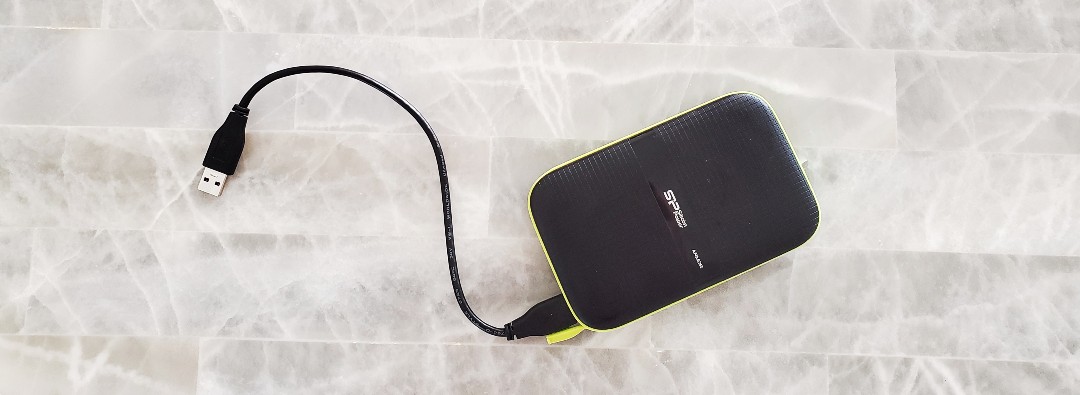
By external drive, we mean both a standard hard drive in an external enclosure, and smaller options such as USB drives. You might well wonder “how is this going to be possible? How can I recover data from a drive if it is not even detected?”
There are two stages to getting back data from a drive which does not show up in Windows, starting with getting the operating system to detect it. Then you can turn to data recovery software to begin gathering files from the drive and saving it in a safe location. We’re going to take a look at how you can use Disk Drill data recovery tool to recover data from an external hard disk not recognized. It does not matter whether you have an external drive from Adata, LaCie, Samsung, Seagate, Silicon Power, Western Digital or any one of dozens of other brands – the process for recovering data is the same.
Why is My External Hard Drive Not Showing Up?
As with so many computing problems, the potential reason for an external hard drive not showing up are numerous. Of course, it could be the case that the drive in question is physically damaged and is not working, but there are plenty of other reasons too.
If you are connecting a drive using a USB cable, it could be the case that the cable itself is faulty. It is also possible that the USB port you are connecting to is damaged, and this would also lead to problems with a smaller USB drive. You may have run out of USB ports and had to resort to using a USB hub in order to be able to plug in more peripherals, and this can cause problems with power.
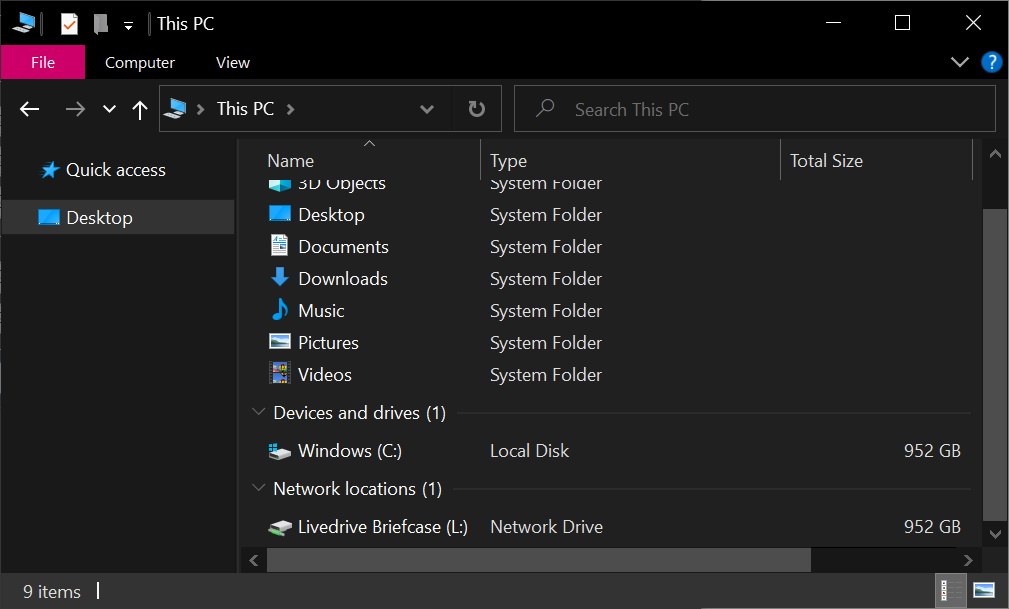
External drive not showing up in Explorer? Don’t panic
Other reasons for your drive not showing up include it not being formatted using a file system that Windows can read, or it may not have been assigned a drive letter. It is also possible that there is a driver that is missing or faulty, or it could even be that your drive is corrupt.
How to Fix a Hard Drive Not Being Detected by Windows
There may be numerous causes for an external drive failing to show up in Windows, but thankfully there are also numerous things you can try to make it visible.
#1 Try Another USB Port
Determining if a USB drive or port is to blame is a very simple matter. Start by trying a different USB cable, or plug the drive into a different port. If you’re still not having any luck, try connecting the drive to a different computer entirely.
#2 Try to Connect to Another PC
If you are connecting your external drive to your computer using a USB hub, it is possible that it is not getting enough power. Try connecting the drive directly to your computer, bypassing the hub, even if only for the recovery process.
#3 Use the Disk Management Tool
To check to see whether there is a problem with a drive not having been assigned a letter, you can make use of the Disk Management tool.
- Press the Windows key, type diskmgmt.msc and press Enter. You may see an entry for a device that has not been showing up in Explorer.
- Right-click the bar representing your external drive and select Change Drive Letter and Paths.
- Click the Add button and then use the drop-down menu to choose the drive letter you would like to assign to the drive before clicking OK.
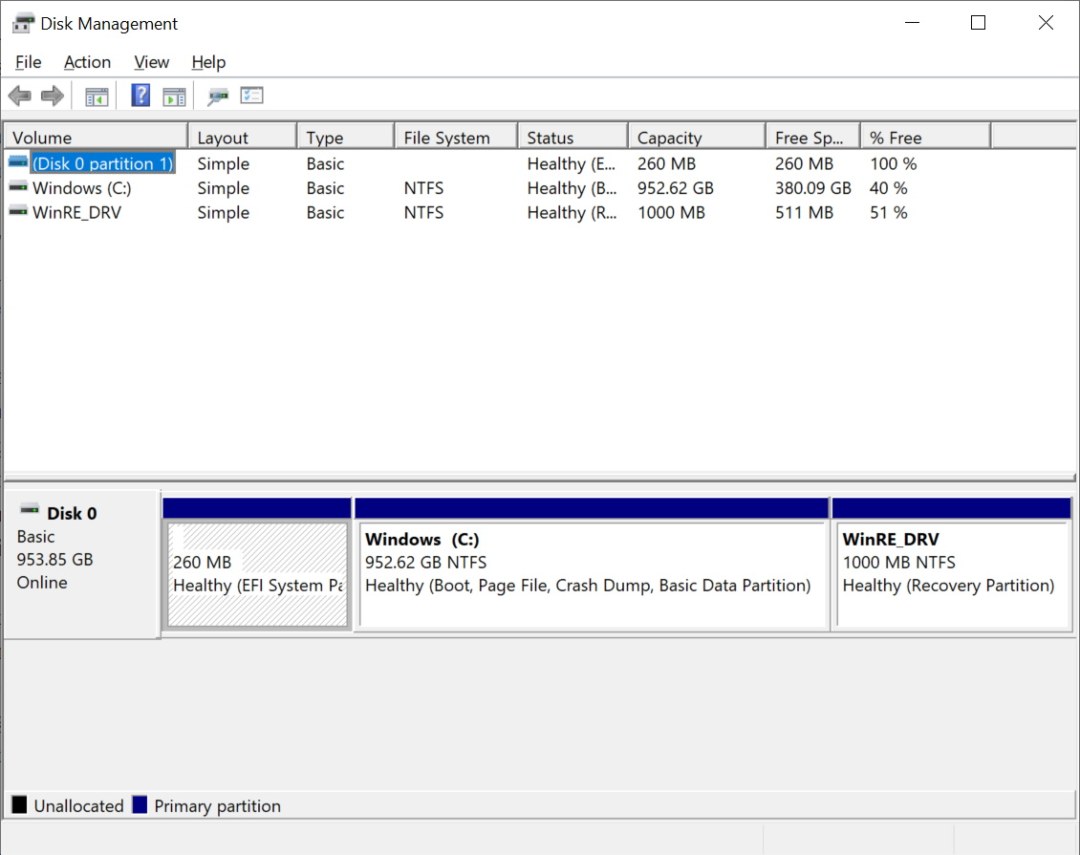
The Disk Management tool can be used to assign a drive letter to a missing drive.
#4 Update a Driver
There is also a quick and easy way to check to see whether there are problems with the driver required by your external drive using Device Manager. Follow these steps:
- Press the Windows key – or just click the Start button – type devmgmt.msc and press Enter.
- Double click Disk drives to expand the group, and then double click on the entry for your external drive. In the properties dialog that appears, move to the Driver tab and click the Update Driver button.
- In the Update Drivers window that appears, click Search automatically for drivers and sit back and wait while Windows searches for and installs any new driver that may be available.
- If nothing is found, click Search for updates drivers on Windows Update and then click Check for updates. If all of this fails, it is worth using the Uninstall button back on the properties screen to delete the current driver. After doing this, restart your computer and you should find that Windows automatically detects your drive and installs the necessary driver.

Use Device Manager to update the driver for your external hard drive.
How to Recover Data from an External Drive
When the time comes to start recovery data from your external drive, look no further than Disk Drill. You can download the software here, and you will find that the free version of the program lets you recover up to 500MB of data. If you need to get back more files than this, you will need to upgrade to Disk Drill Pro.
Step 1. Connect an external hard drive to your PC.
Step 2. With Disk Drill installed, launch the program and make sure you are in the Data Recovery section. In the central panel of the window, you should see a list of all of your internal and external hard drives. If you click the little arrow next to the entry for a drive, it will expand to show you all of the available partitions.
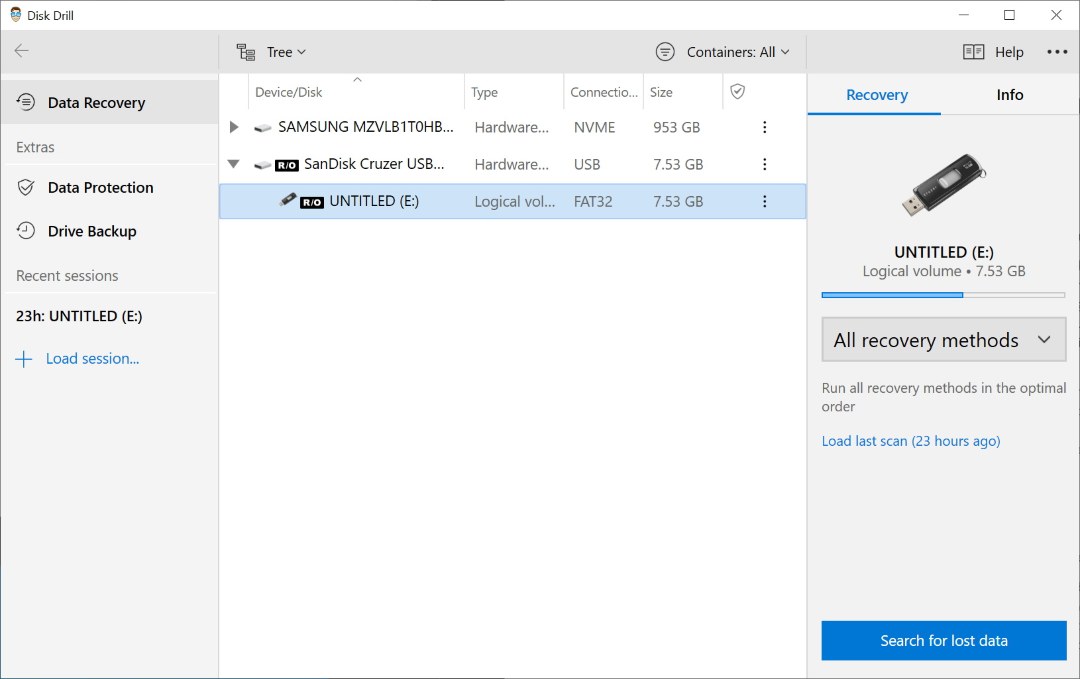
It does not really matter if you select an individual partition or an entire drive, but if you know that the files you are looking for were store on a specific partition, it will save time if you select this.
Step 3. With this done, make sure that All recovery methods is selected to the right (it should be selected by default), and then click the Search for lost data button to the lower right of the program window.
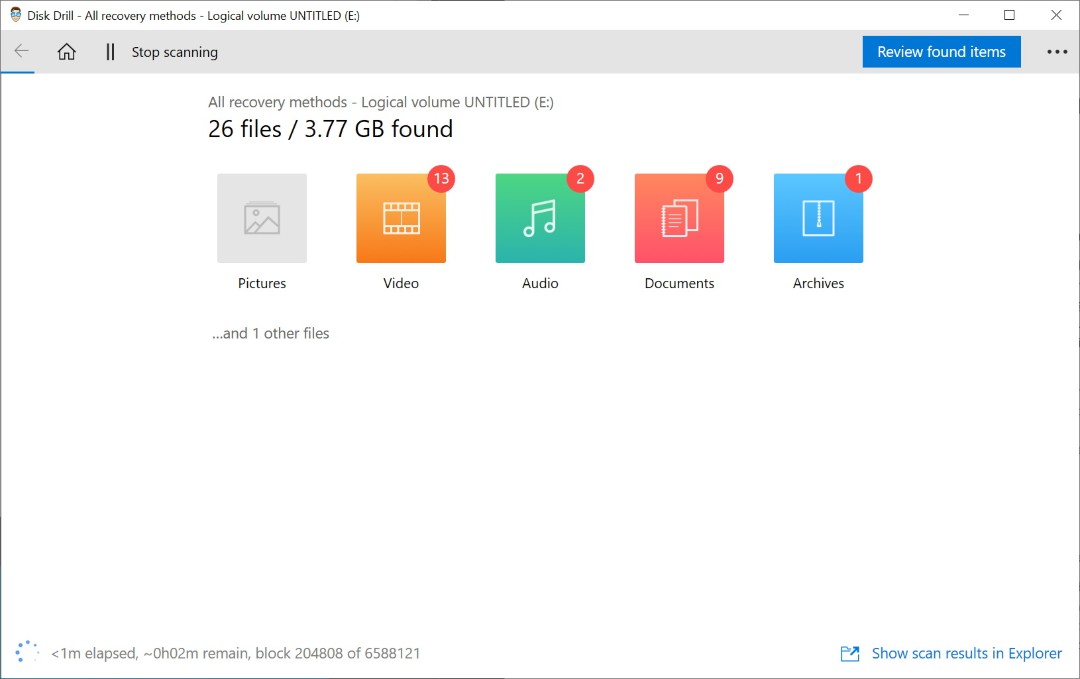
Step 4. Disk Drill will now start to scan the drive or partition you have select and will track down recoverable data. Just how long this process takes will depend on the speed of your computer and the size of the drive that is being analyzed. If you look to the lower left-hand side of the scanning windows, you can monitor the progress that is being made, but Disk Drill lets you know about the number of files and amount of data that have been detected in real-time in the main section of the window.

Step 5. You can choose between waiting until the entire scanning and analysis process is complete before browsing through what has been found, or you can click the icon representing different types of file while the scan is still taking place.
If you opted to scan just a partition, once the scan is complete Disk Drill will give you the opportunity to perform a full scan of the entire drive with a view to finding even more recoverable data. If you choose to do this, you will have to wait for a lengthier scan to be performed, but you can skip this step if you prefer.
Step 6. You then have two choices. You can opt to recover every single file that has been found, or you can browse through the list of what has been detected and select just a few files and folders for recovery.
If you want to restore all of the files that Disk Drill has found, click the Recover all button to the upper right of the screen. You can then choose the drive and folder to which you would like to save the data – make sure to choose a destination other than the drive you are recovery from, or you risk wiping out files completely.
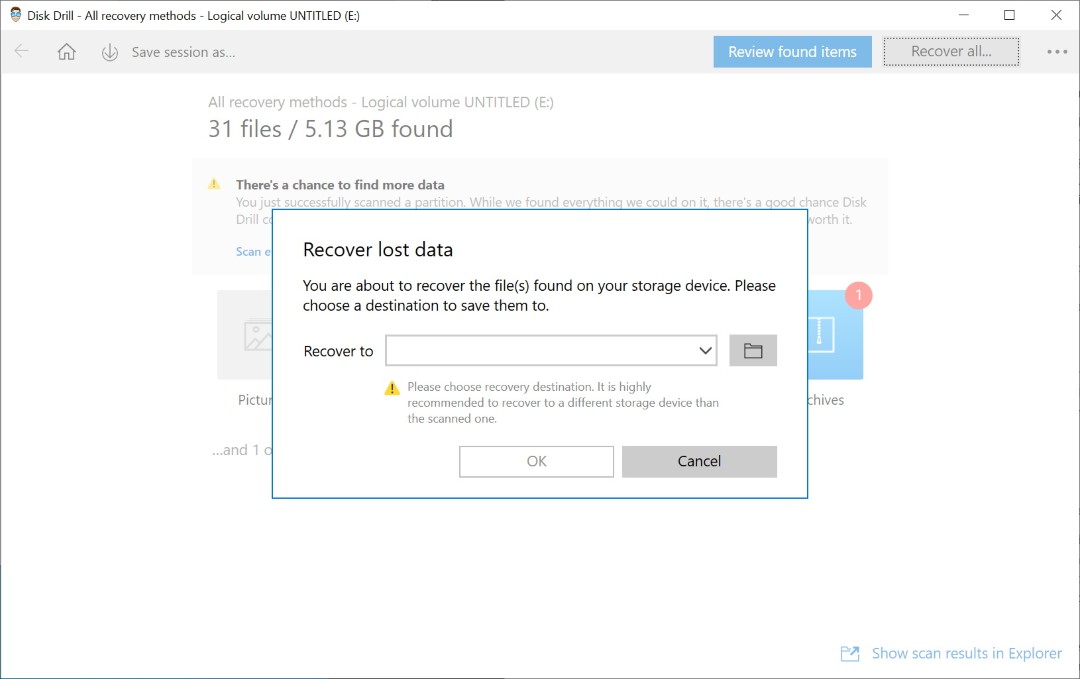
Restore recoverable data to a different drive once the analysis is complete.
Alternatively, if you are looking to restore just a small number of files, click the Review found items button. You can then browse through the files that have been detected by either selecting the All files option to the left, or by using the various file type headings (Pictures, Videos, Audio etc) to home in on specific files. If there are a very large number of files to look through, you can narrow things down by clicking the Filters button at the top of the screen and indicating the size or deletion date of what you are seeking to recover.
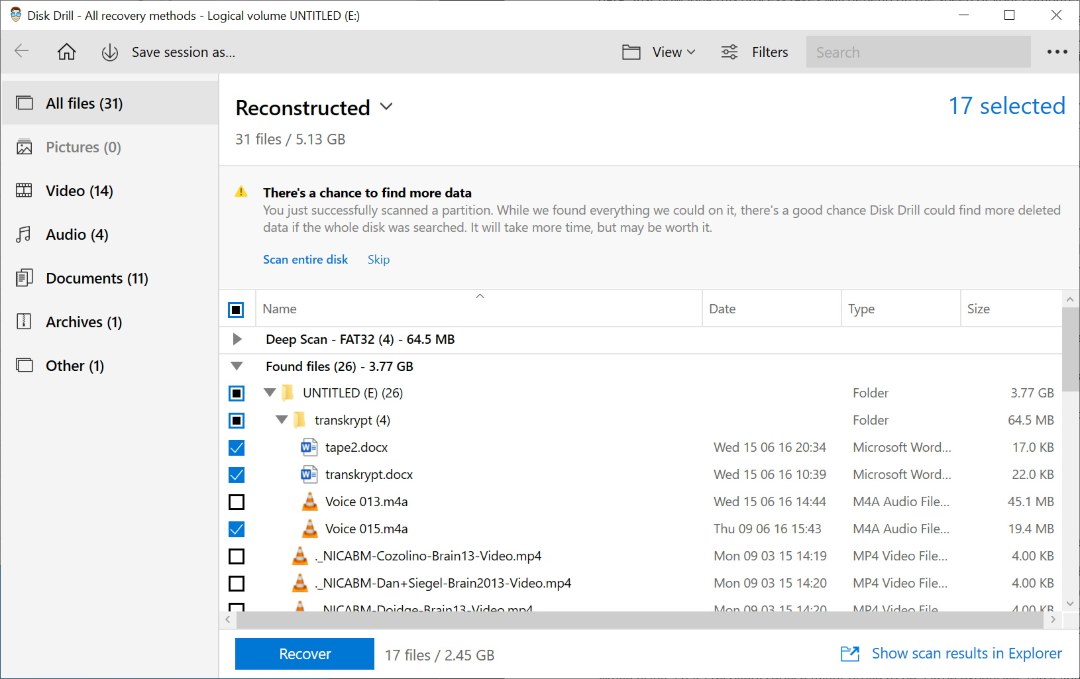
You have the option of restoring all recoverable files, or just those you are interested in.
Step 7. Tick the boxes next to any files or folders you would like to restore and then click the Recover button at the bottom of the screen. Again, you will be ask where the files should be saved, and you should take care to choose a location other than the drive you are recovering data from.

Danial Zahoor
Professional Ethical Hacker and Cybersecurity Researcher with a proven track record in dismantling online threats. Successfully neutralized 4 scammer networks, thwarted 13 phishing schemes, and disrupted 4 kidnapper networks. Committed to ensuring online safety and security, I leverage my expertise to protect individuals and organizations from digital threats. Passionate about cybersecurity education and empowering others to stay safe online.